
Water Heater Installation in Houston, TX
Water heater installation and replacement checks for Houston-area homes.
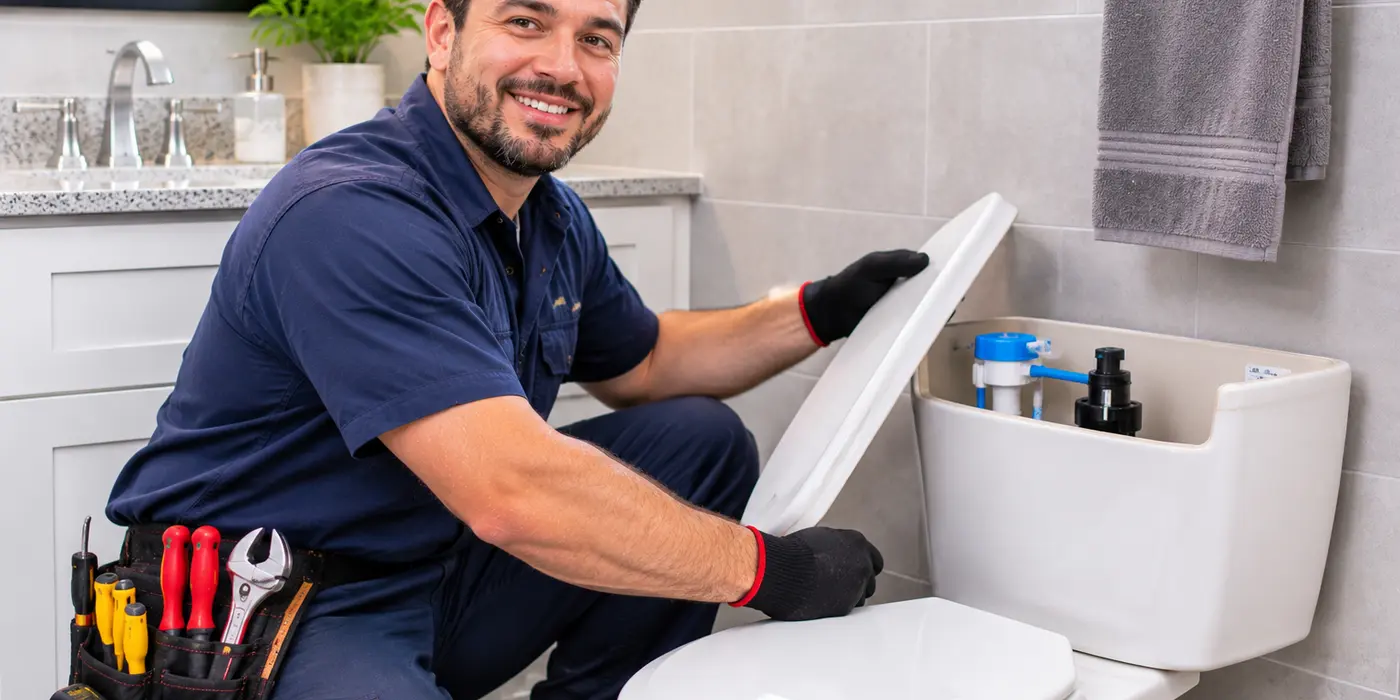
Homeowners call us when the “hot water is gone,” the “tank is leaking,” or the shower turns cold before anyone finishes bathing. We translate those everyday descriptions into a water heater installation check: the tank, supply lines, drain pan, vent, shutoff valve, and power or gas connection all need to match the home. We work from 2726 Bissonnet St # 304 for homes in Houston, West University Place, Southside Place, and Bellaire.
A water heater can fail in ways that look similar from the bathroom faucet but call for different work at the tank. We check whether the existing unit can remain in place, whether a replacement fits the closet or utility room, and whether the piping and vent route support the new equipment. Water heater installation should not wait when water is escaping from the tank, the relief valve is discharging, or a gas-fired unit has a combustion concern, because leakage can damage floors and a failed tank cannot safely hold hot water under pressure.
No hot water and leaks
“No hot water” may mean the tank has stopped heating, the heating elements have failed, the burner system has a fault, or hot water demand has outgrown the unit. “Water heater leaking from the bottom” can point to a drain valve, a pipe fitting, a relief valve discharge pipe, or a rusted tank seam. “Brown water” or rusty water from the hot side may come from corrosion inside an aging tank, while a rumbling or popping sound can mean sediment has collected at the bottom of the vessel.
We also hear that the water smells like eggs, the pilot will not stay lit, or the utility-room floor is wet around the heater. A wet floor needs a look at the tank jacket, condensate line where applicable, nearby plumbing joints, and drain pan rather than an assumption about one failed part. Each symptom can lead to a different repair or replacement scope and a different cost, even when the problem sounds nearly identical over the phone.
Tank and vent inspection
We start a water heater installation inspection by reading the model plate for fuel type, capacity, voltage or burner information, and manufacture date. We check the tank diameter and height against the closet, attic, garage, or utility-room opening, including the path needed to remove the old unit. We measure cold-water pressure, inspect the hot and cold connections, and confirm that the temperature-and-pressure relief valve has a proper discharge route.
For a gas water heater, we inspect the gas shutoff, connector, vent material, draft path, and combustion-air arrangement. For an electric unit, we check the disconnect, circuit, wire condition, and voltage requirements; most residential water heater connections use three-quarter-inch water piping, though the actual piping at the home decides the fittings we bring. An inspection often takes 30 to 60 minutes, while a like-for-like tank changeout commonly takes 2 to 4 hours when the connections, pan, shutoff, and vent are ready.
We usually complete a straightforward replacement during the installation visit when the correct tank and connection materials are available. A new circuit, relocated gas line, altered vent route, enlarged access opening, or equipment that must be ordered is normally scheduled as additional work. We test the connections after installation, fill the tank before electric power is applied, and check the faucet water flow once the system is operating.
Tank access and shutoff
Tank size and installation location have a direct effect on the work involved. A water heater standing in an open garage offers a different removal path than a tall unit inside a narrow closet, attic, or finished utility room. Stairs, door width, drain-pan condition, ceiling clearance, and the route for the old tank can add handling and preparation work.
The existing shutoff valve and connection materials also matter. A valve that turns freely and piping that separates cleanly can allow a simpler changeout, while a seized shutoff, corroded nipple, damaged drain line, or outdated vent section can require replacement materials and more labor. Gas venting, electrical capacity, permit requirements, and any required inspection or sign-off depend on the equipment and the installation location.
A standard replacement is generally more straightforward when the new tank matches the existing fuel source, capacity, footprint, and connection layout. A different heater type, an unusual model, or a part that must be ordered can extend the job beyond the basic tank replacement. We explain the tank, valve, vent, and access conditions found at the home before installation work moves forward.
Model plate and closet access
Before calling houston plumbing company, look for the model plate on the water heater jacket; it is commonly attached to the side of the tank near the controls or access panel. The plate can show the manufacturer, model number, fuel type, capacity, and manufacture date, which helps us identify a suitable replacement. Let us know whether the heater sits in a garage, attic, closet, utility room, or another enclosed space.
A photo of the tank, the top connections, the shutoff valve, and the vent pipe or electrical panel can help us plan the correct materials. Tell us if water is running from the tank, collecting in the drain pan, or reaching the floor, and mention any narrow gate, stairway, or closet door on the removal path. You can reach us at (210) 405-1525; a leaking tank can worsen into floor, wall, and cabinet damage while the water continues to escape.
When we are open
Mon–Sun Open 24 hours
Next
Next: gas line repair, or back to the home page.